- test
Getting started with Apache Superset on Docker
In this guide, Benjamin walks you through the step-by-step process of installing and configuring Apache Superset via Docker, ensuring you have a production-ready environment up and running in no time.

Apache Superset is a professional-grade, free and open-source data exploration and visualisation platform that deserves a place in every analyst’s toolbox. Originally developed by Maxime Beauchemin in 2017, Superset is built around 4 core components: dashboards, charts, datasets and a built-in SQL lab for query execution. Lightweight yet remarkably powerful, you don’t have to write complex code procedures to get data from multiple data sources.
With these features, Superset is right on par with other high-end business-intelligence tools like Power BI or Tableau. Although Power BI remains king for Microsoft-centric ecosystems and Tableau is second to none as far as visualizations are concerned, Superset has mouth-watering features of its own:
Completely free and open-source, no licensing costs
Built by Airbnb, used by Dropbox, Lyft, Reddit
Integrated SQL Lab for ad hoc queries
Embeddable dashboards via SDK (SaaS-ready!)
Plugin system for custom charts (React/D3.js)
Creating a Docker account
There is more good news. You can perfectly run Superset on your local machine thanks to Docker. This allows you to containerise applications on your laptop. There are different price tiers but there is a free option for personal use. Installation for Mac and Linux shouldn’t cause problems.
If you want to run it on Windows there are some prerequisites. Make sure you have WSL2 installed as explained in the official Microsoft documentation. This allows you to run Linux as a virtual machine on your Windows laptop. In short: you’ll need Windows 10 version 2004 and higher (Build 19041 and higher) or Windows 11.
Once you got WSL 2 running on your local machine, navigate to docker.com. On the pricing page, select the Free Plan. You will be prompted to create an account.
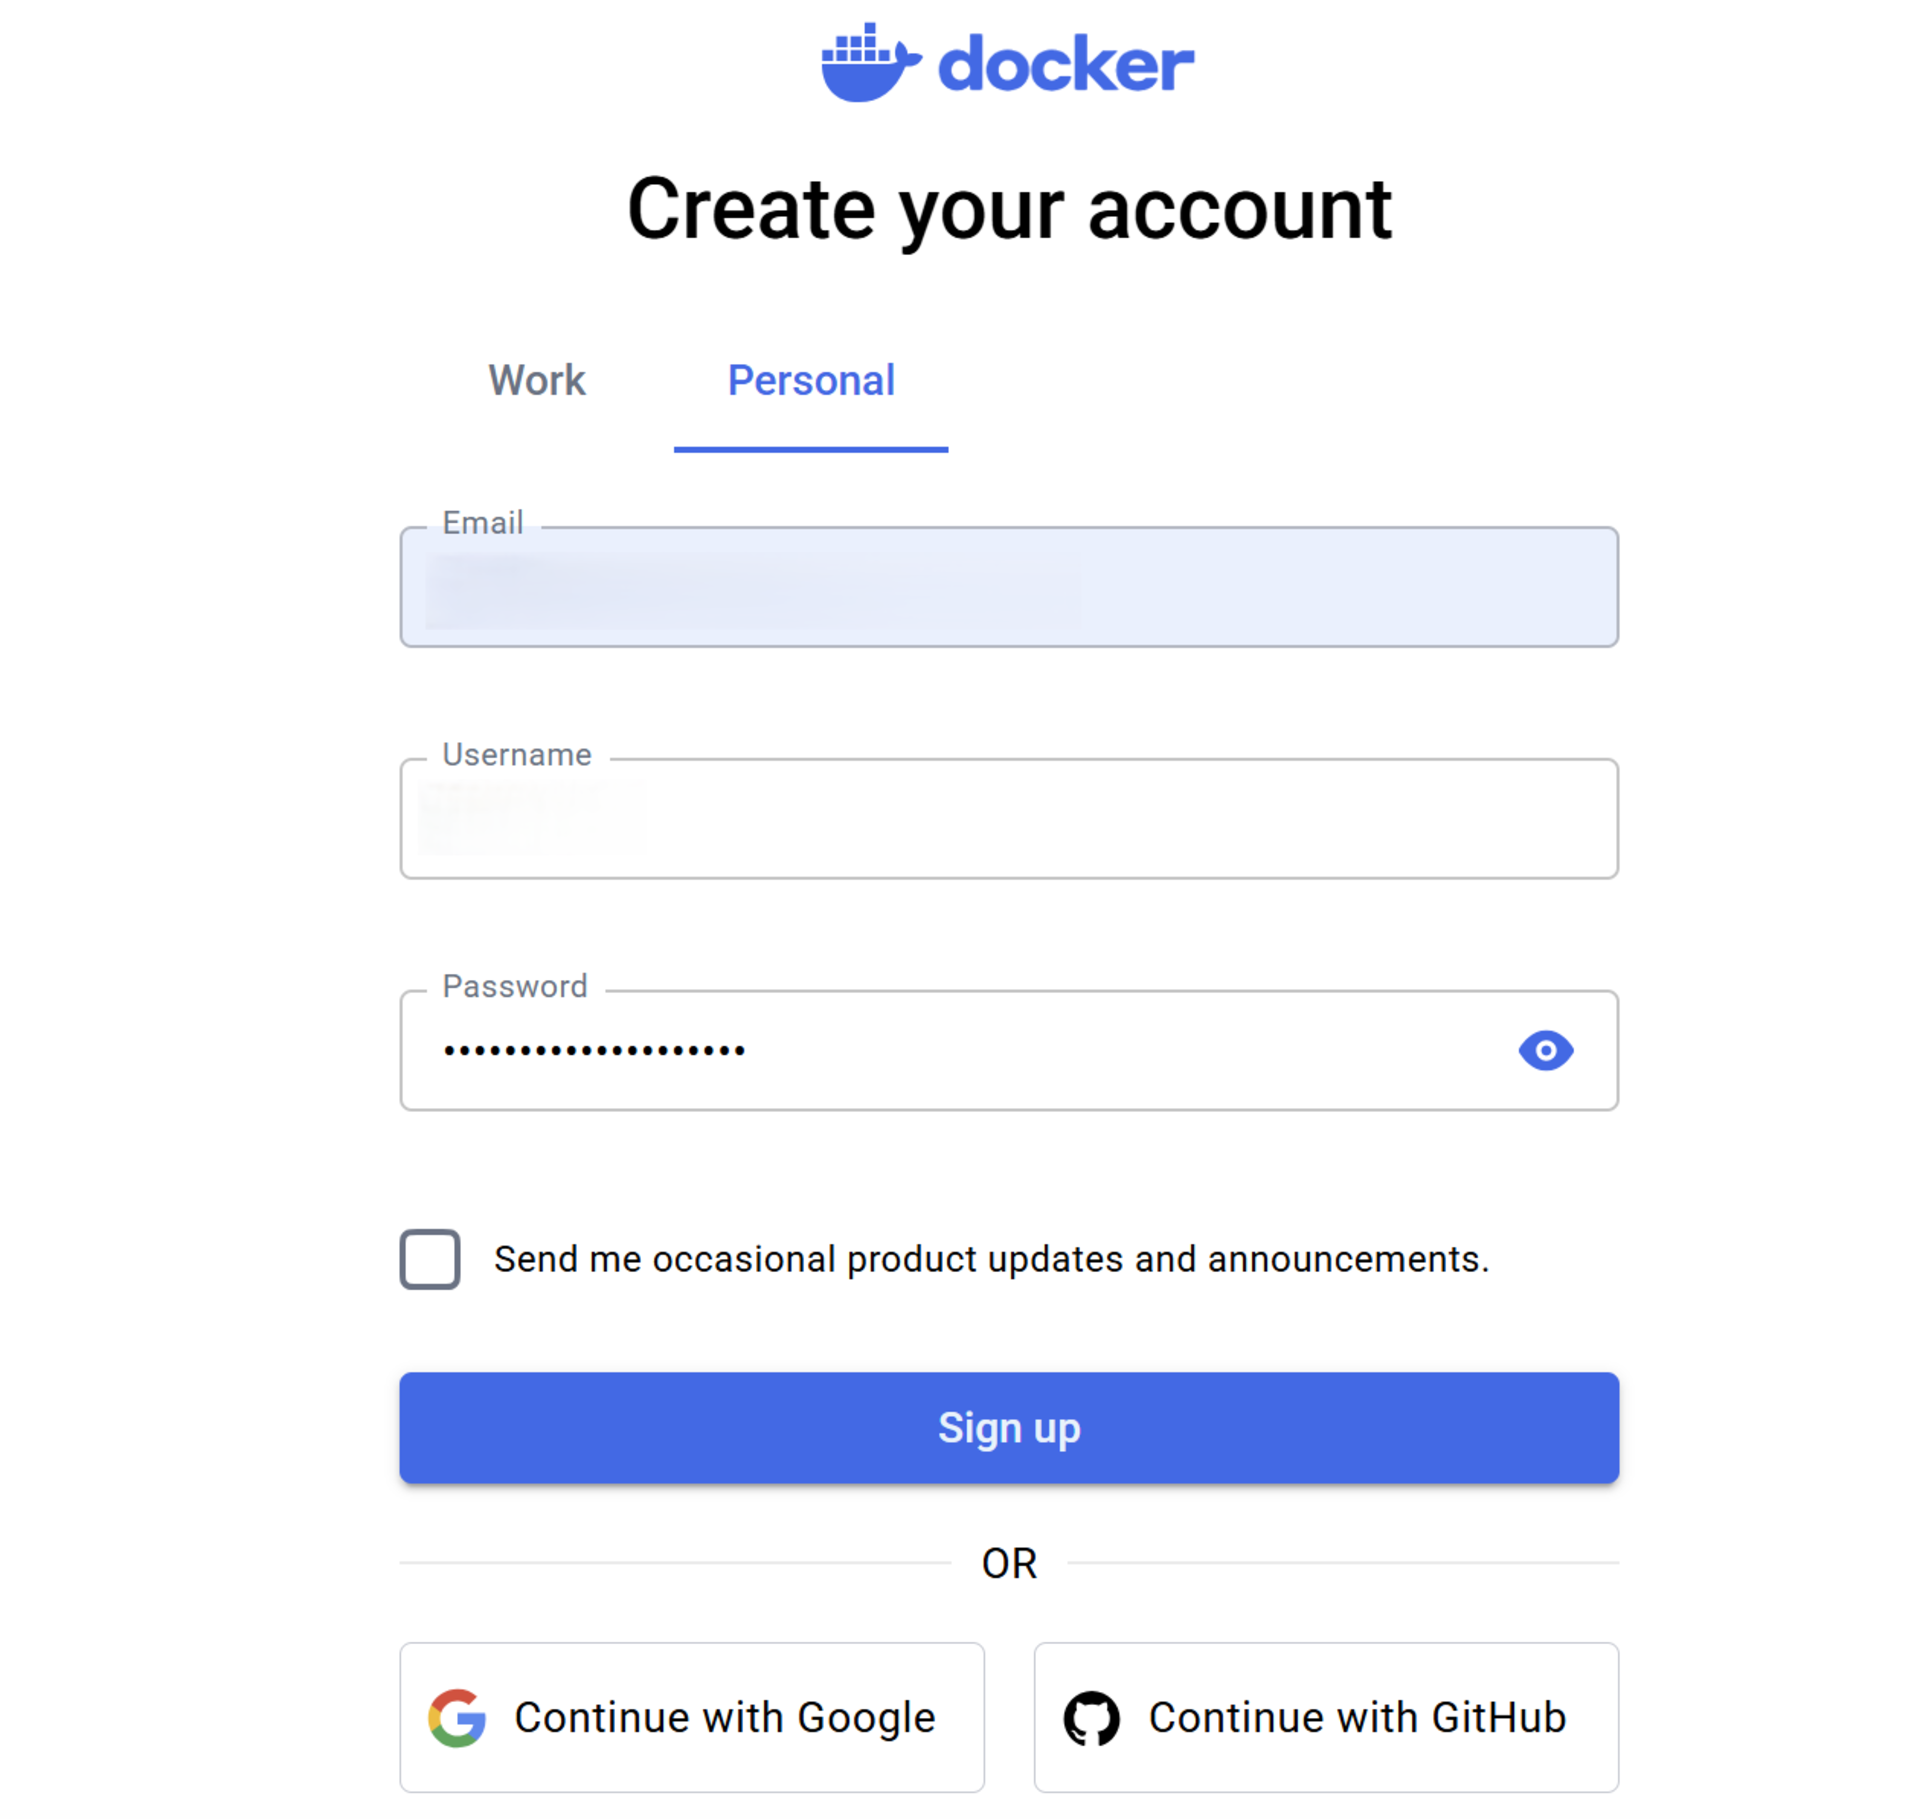
Walk through the procedure, you will get a verification code on the e-mail you provided, you will then be redirected to Docker.
Installing Docker Desktop
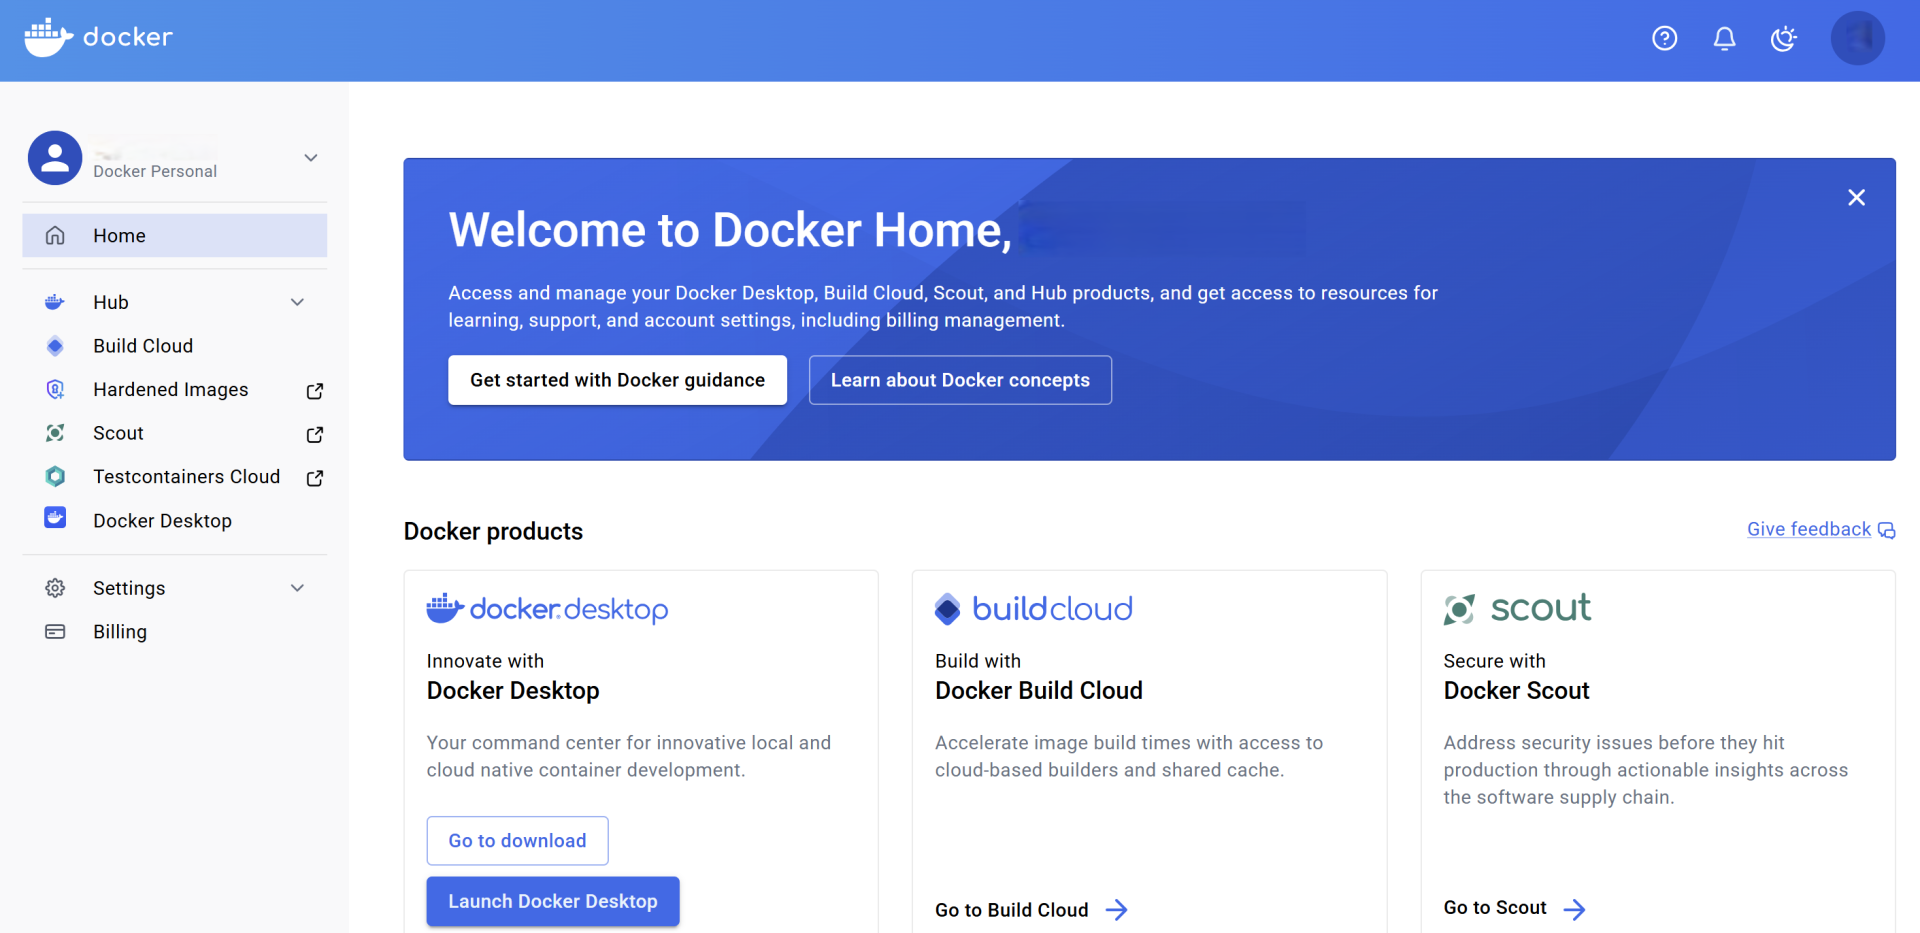
Next, go to Products > Docker Desktop.
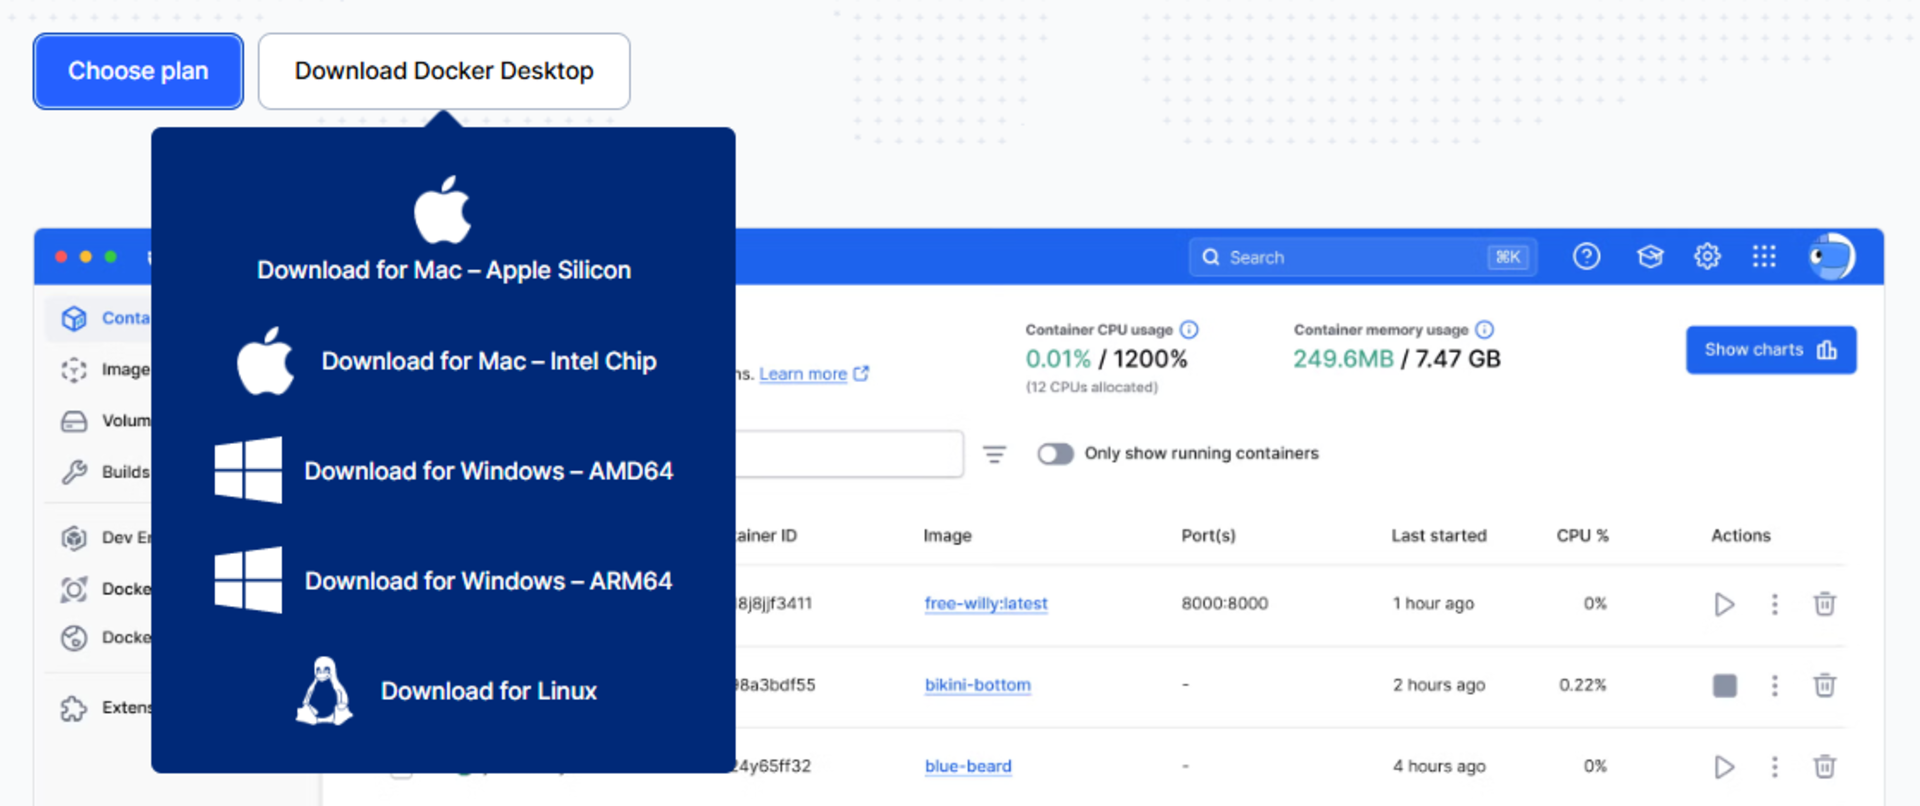
It will download the installer on your system. Double click to run it. Once it’s installed, open it. This will bring you to the Docker Desktop interface which will be empty for now.
Installing Apache Superset
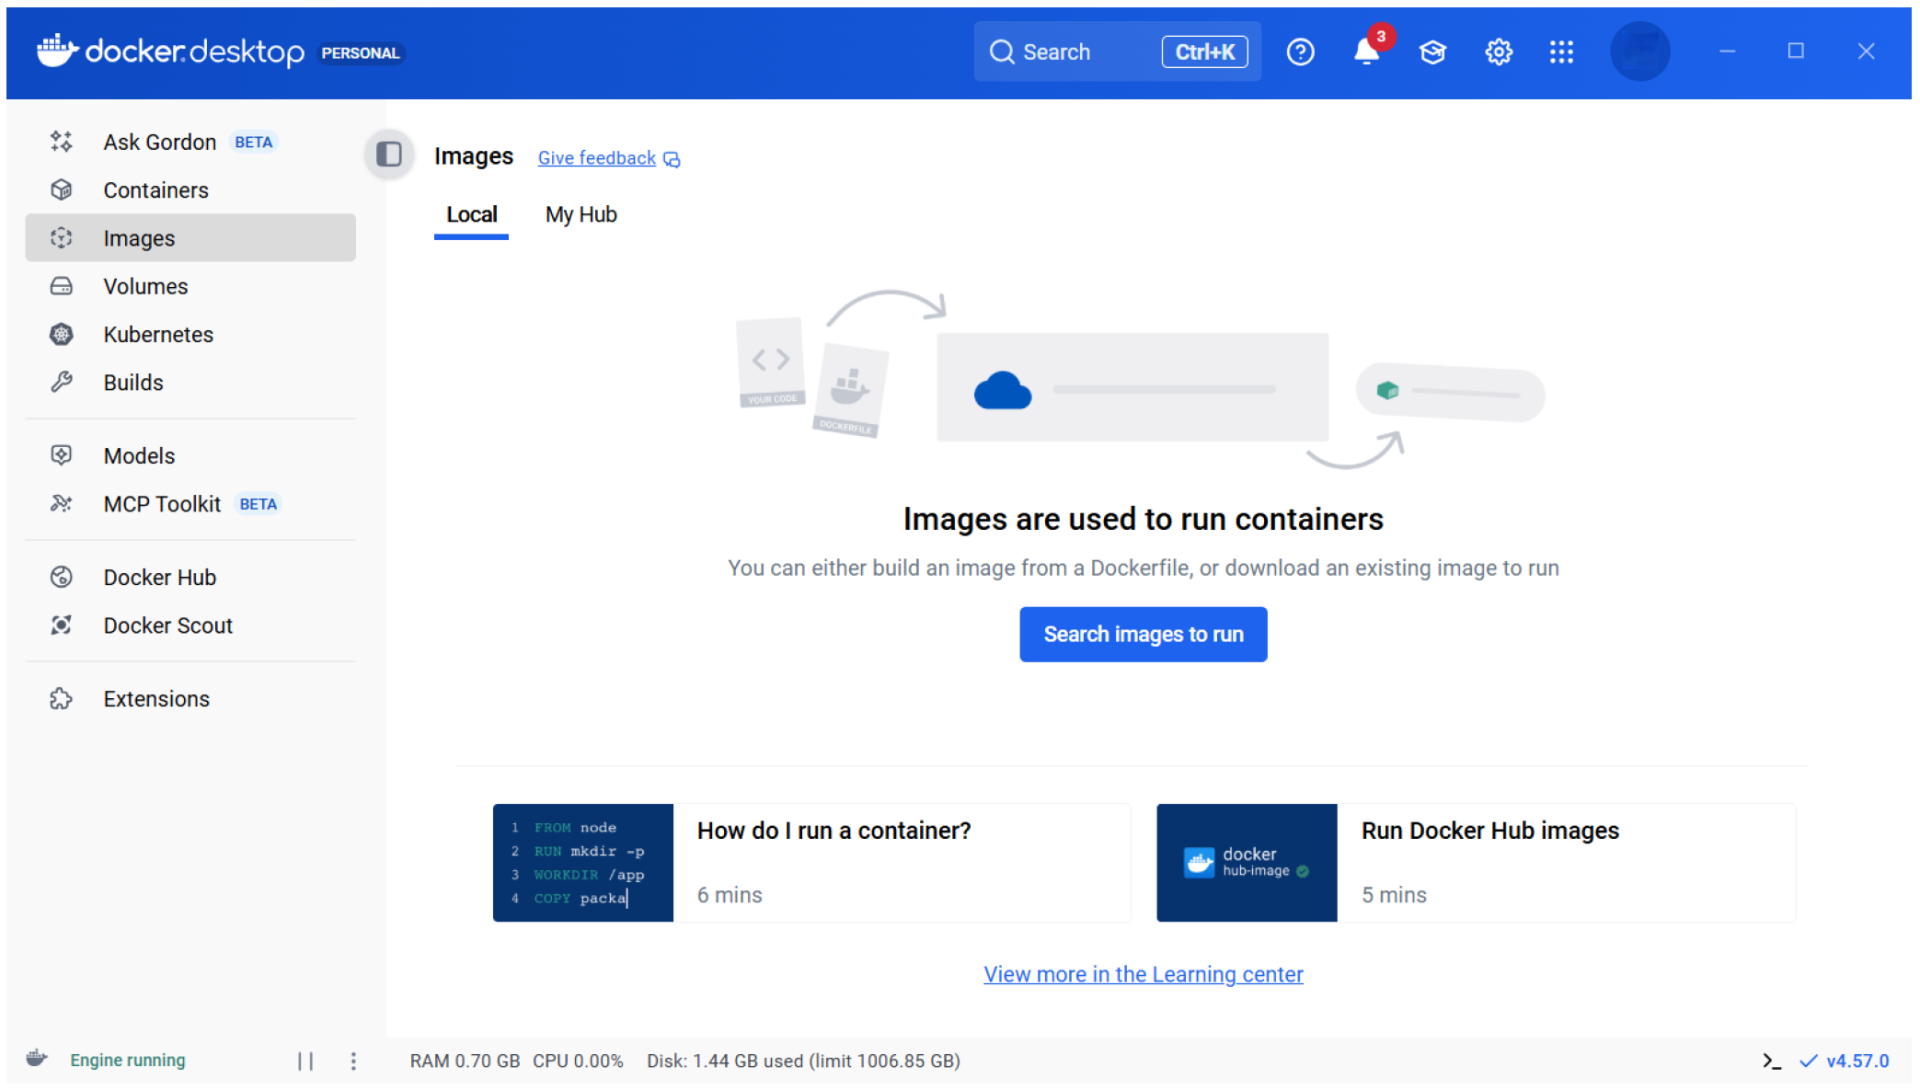
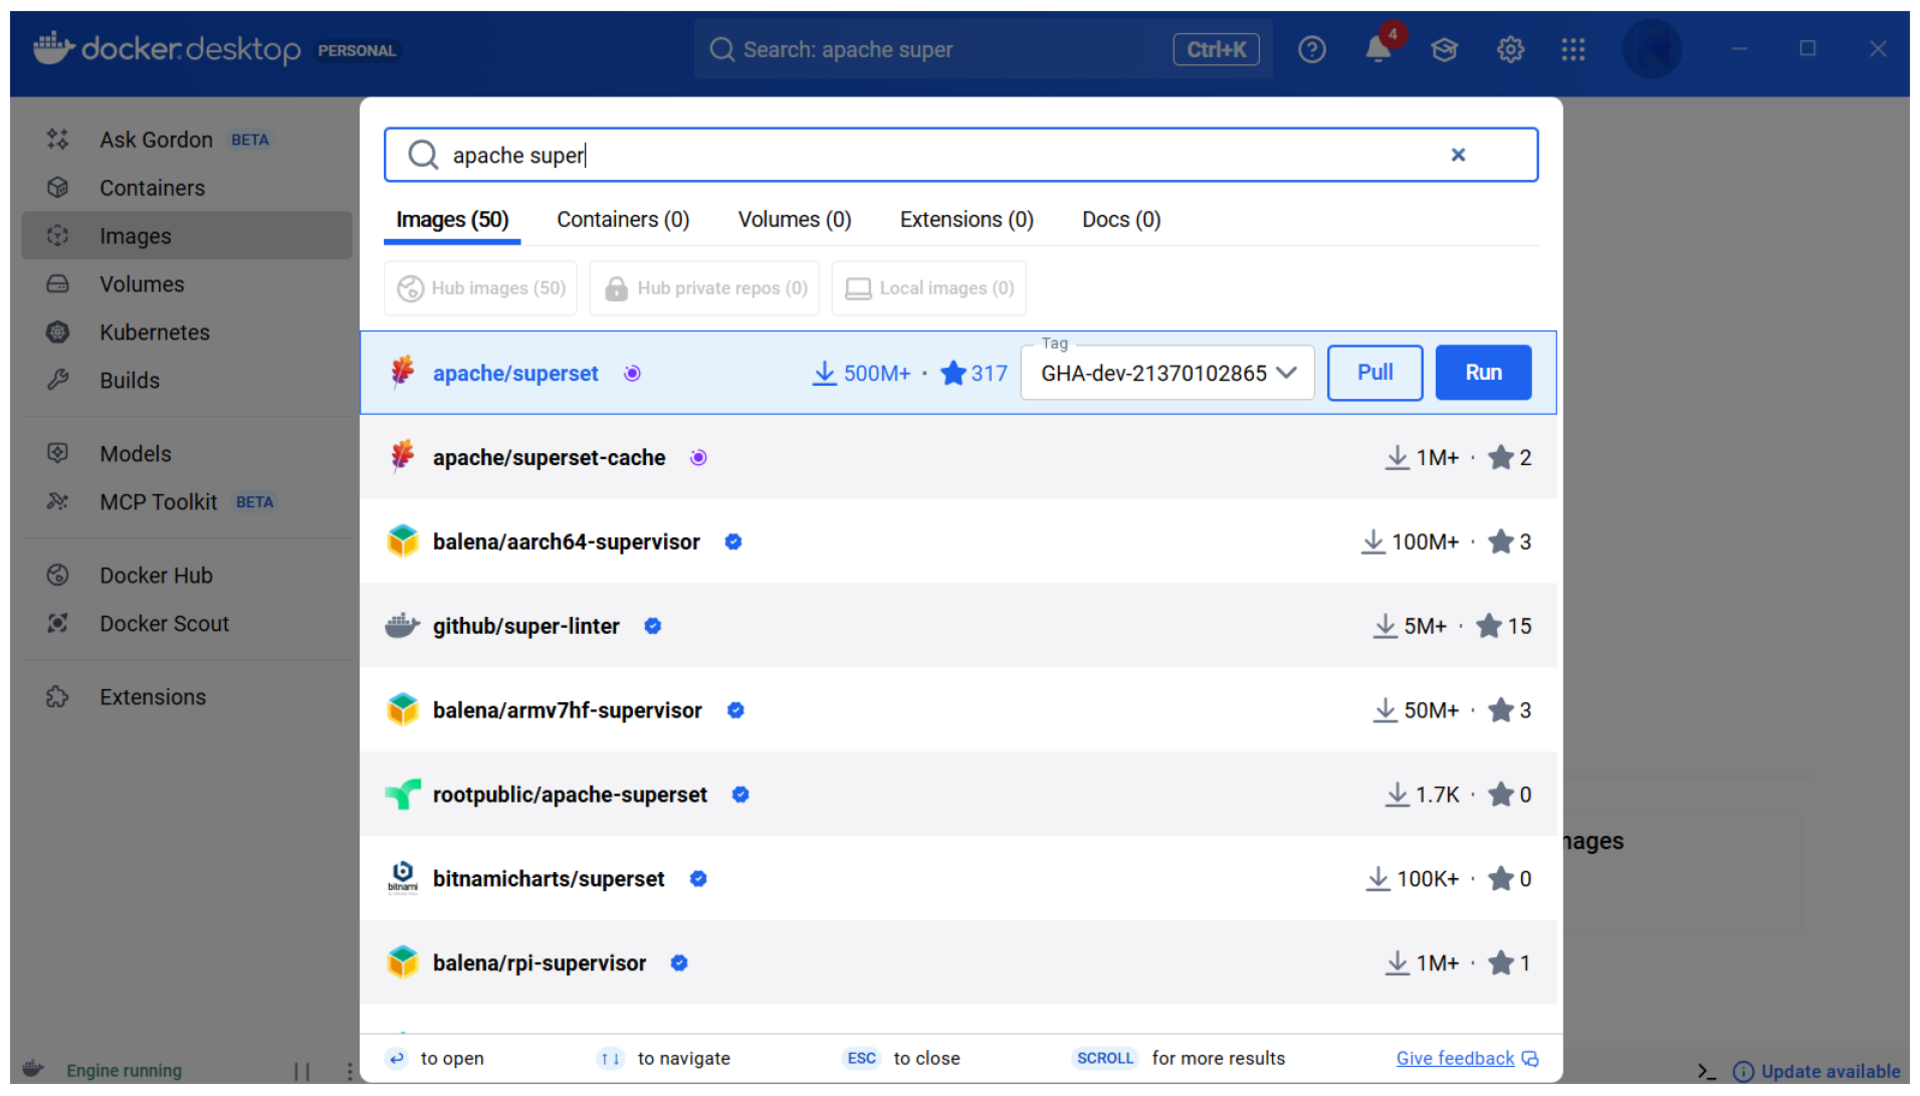
The next step is to get Apache Superset installed. Notice the search box in your Docker Desktop. Go ahead and search for ‘apache superset’. You’ll notice you get a lot of hits. Select the 500M+ version. Next, click ‘Pull’.
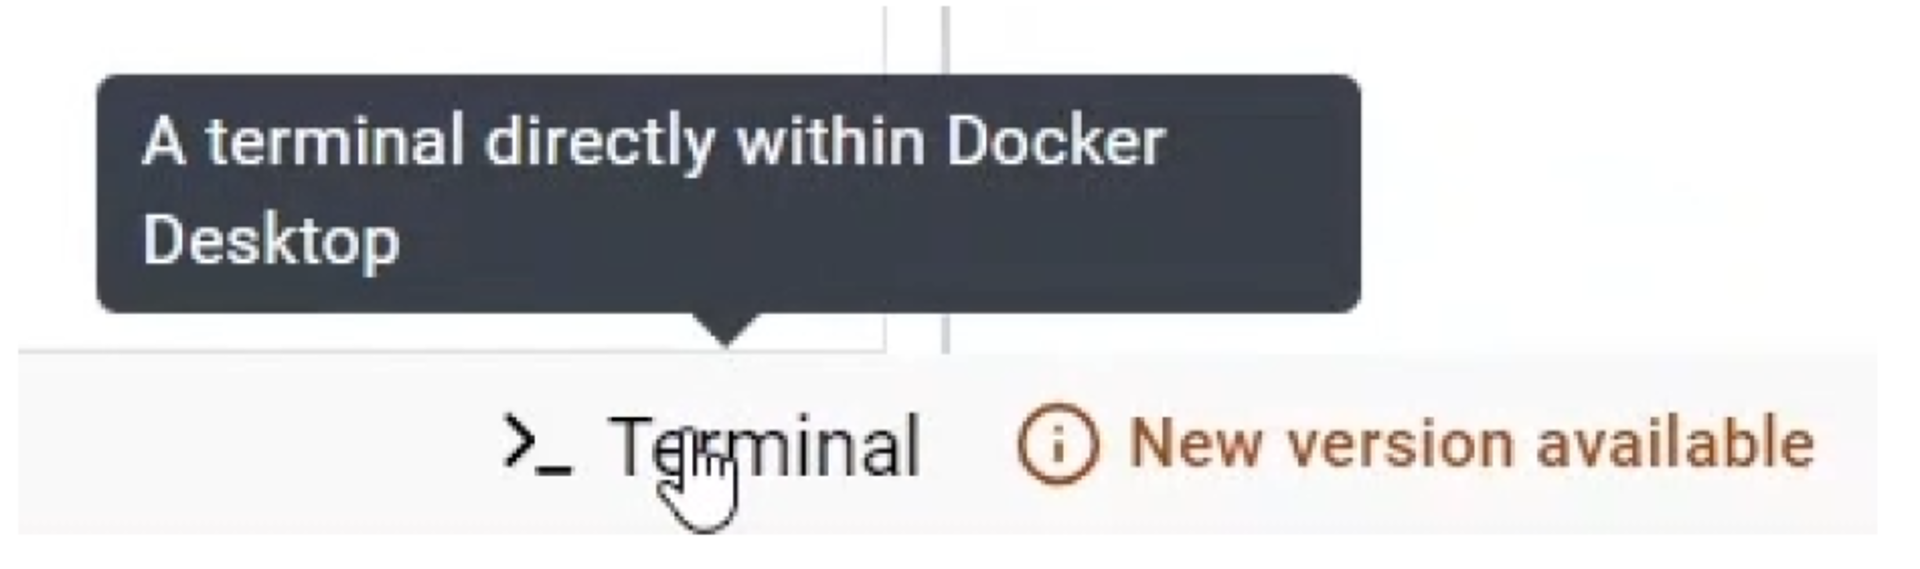
This gets you the Apache Superset image. The next step is to run a container with this image. In the images sections of your Docker Desktop, you’ll see the play-icon next to the image you just downloaded. However, we will continue the setup through the Docker Desktop Command Line Interface (CLI). Using the CLI has some benefits. The first is you can set your secret key and the second is you see what steps you are following to download the examples, the configurations and uploading them on the current container of Apache Superset. So click the terminal icon bottom right.
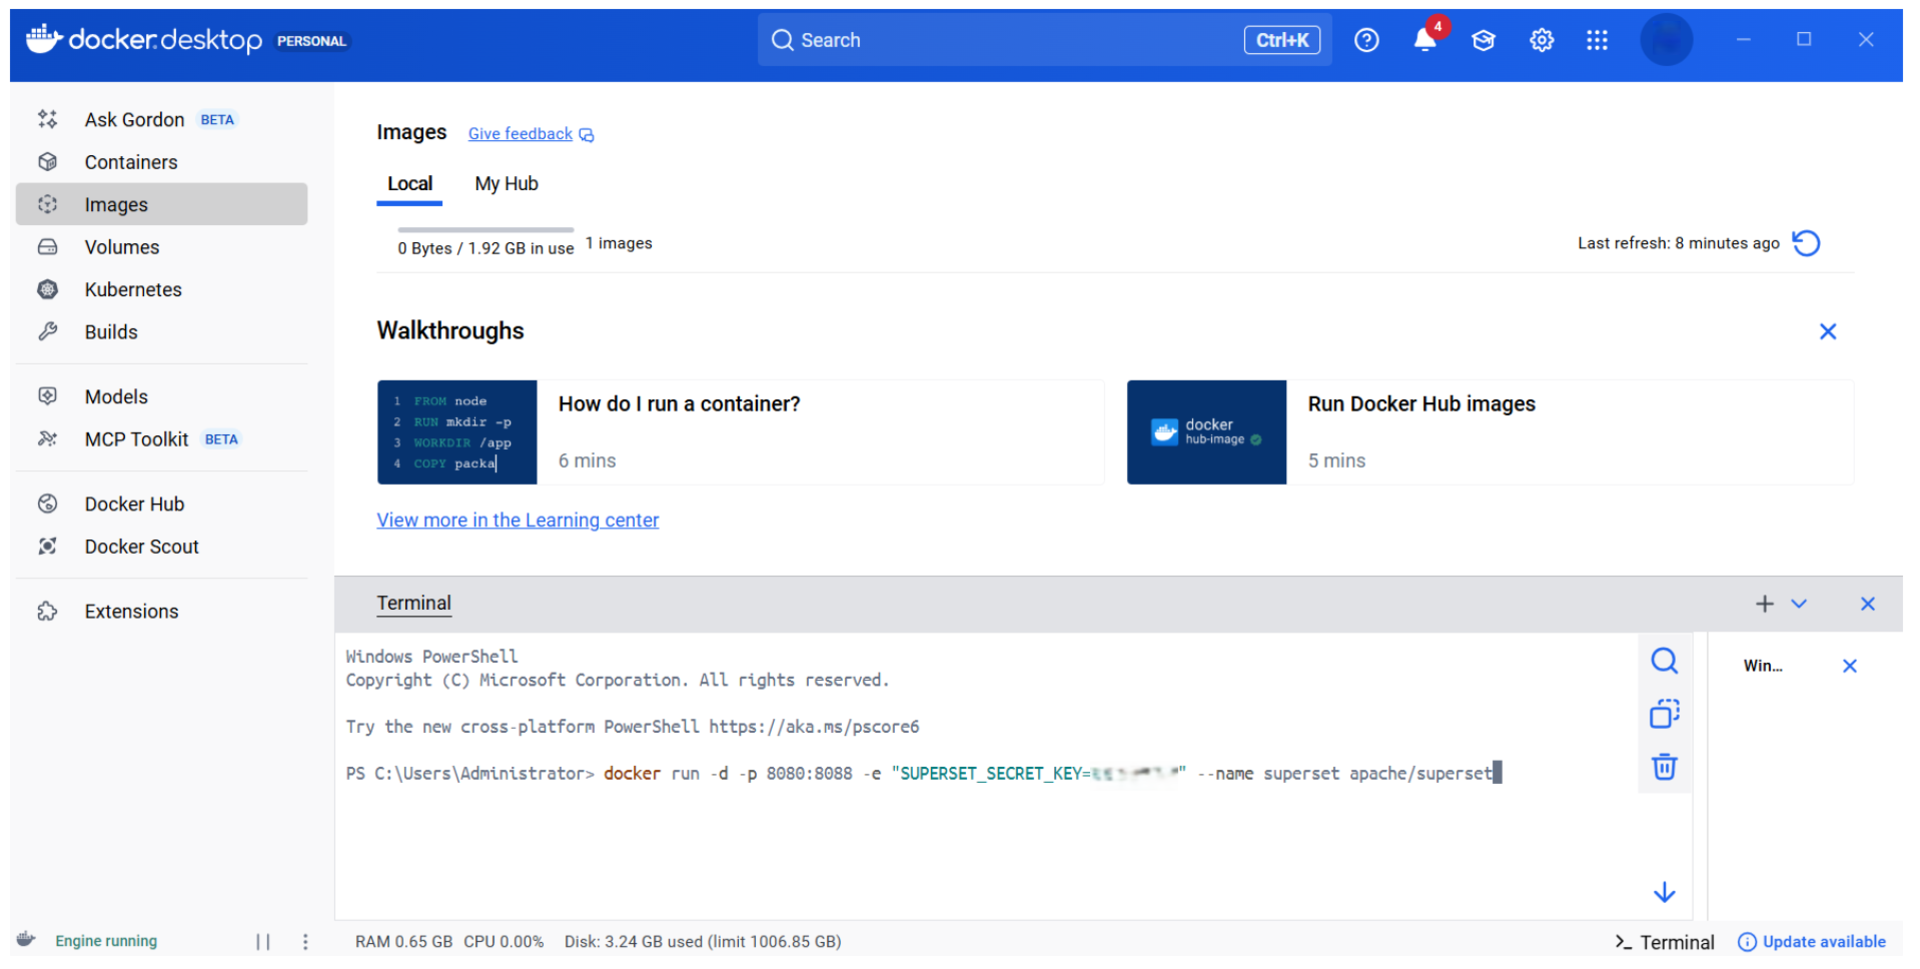
This will open up a terminal in Docker Desktop which will do the job of your Windows Powershell. We can start prompting. First, run the following command to run the downloaded image on a container.
docker run -d -p 8080:8088 -e "SUPERSET_SECRET_KEY=..." --name superset apache/supersetWhat’s going on here? First we’re telling Docker to run on a particular port (8080), which is your localhost. Next we are specifying the port number (8088). Then you have to define your secret key. Replace the three dots in the code snippet above with an alphanumeric key of your choice.
Run the command, it will take the latest available version of the apache/superset image and set up a container.
If you now navigate to the Containers section, you will see there is a container running named ‘superset’ on the image ‘apache/superset’ with ports ‘8080:8088’.

If you take a look into the Images section, you’ll notice an additional apache/superset image has been downloaded (‘latest’).

Additional configurations
Now all we need to do is to run through a number of additional configurations to get everything up and running. In the Docker CLI, execute the following command:
docker exec -it superset superset fab create-admin --username admin --firstname Superset --lastname Admin --email admin@superset.com --password adminNotice we use ‘admin’ both as username and password but you can obviously use whatever you choose. Also note that these are probably the worst credentials imaginable from a security point-of-view but since it’s a local setup and for the sake of this example it’s not such a big deal. Obviously never use ‘admin’ in production environments.
The next step is to migrate the local database of Superset to the latest version. Superset uses a local database and you need to upgrade it to be sure you have the latest data sets:
docker exec -it superset superset db upgradeThen, we need to load the examples. This will provide you with out-of-the-box datasets, charts and dashboards.
docker exec -it superset superset load_examplesAnd finally we have to set up some rules:
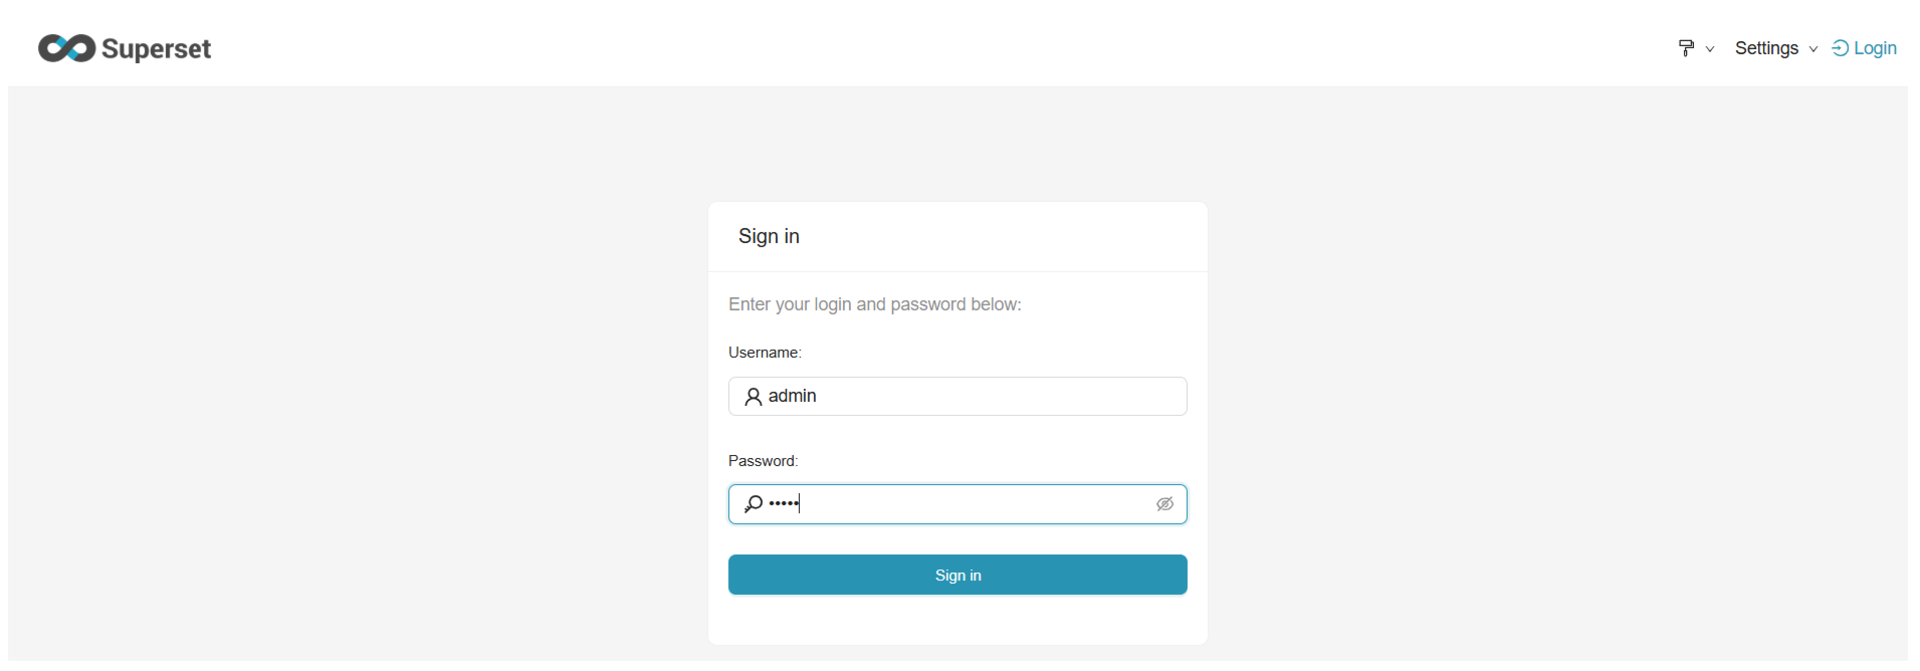
docker exec -it superset superset initThat’s it! Superset is now ready to run on your local machine. Open your favourite browser and navigate to http://localhost:8080/. Enter your username and password you set in the previous step (2x admin in this example).
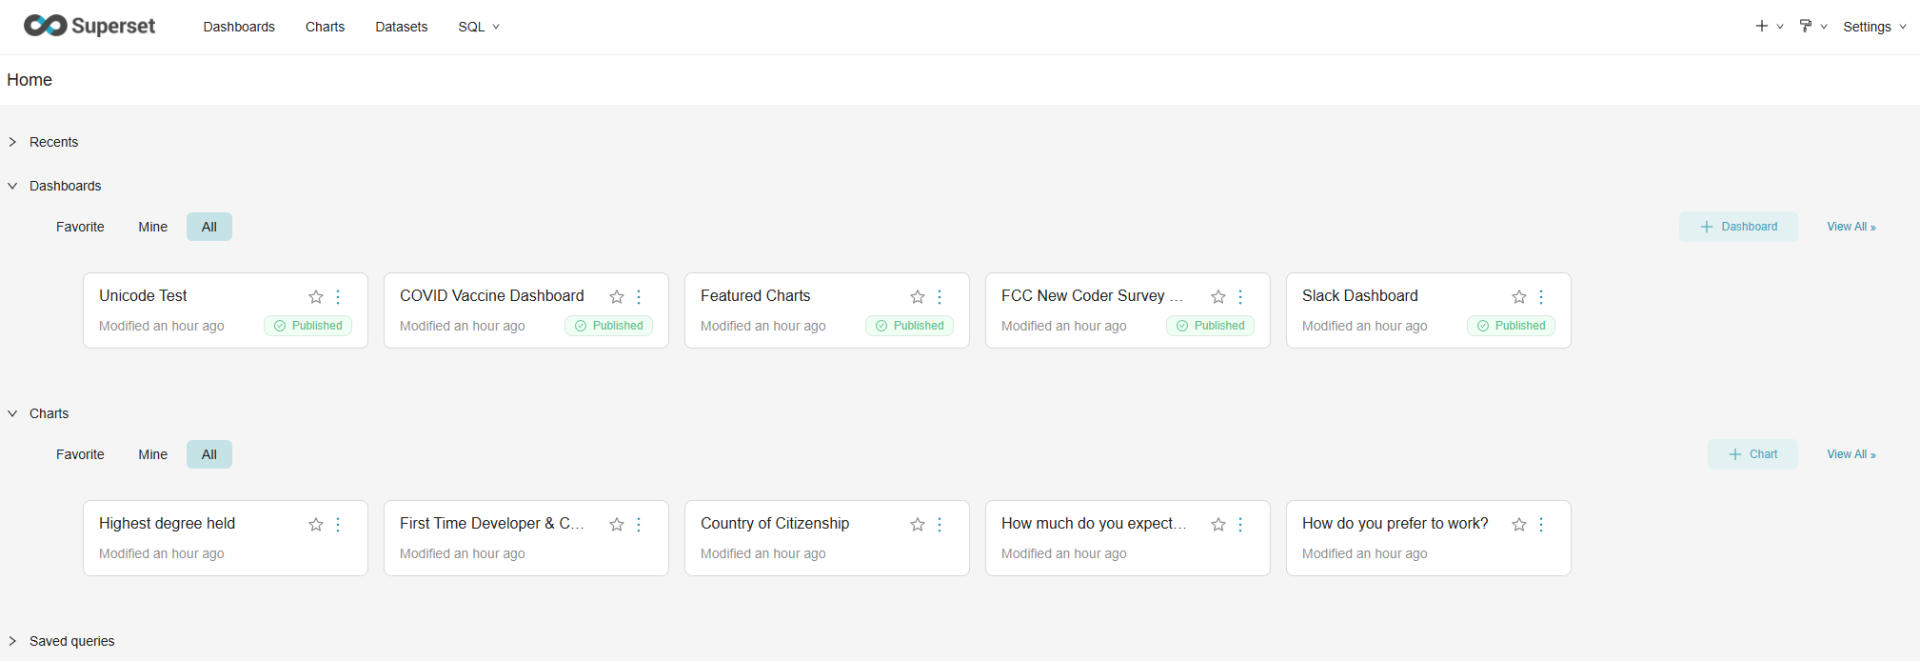
This brings you to the homepage of your Superset installation. Notice the Dashboards and Charts that are already there? This is thanks to the load_examples step we did.
Congratulations: you have successfully installed Docker Desktop along with Apache Superset. You’ve downloaded a whole bunch off-the-shelf datasets, charts and dashboards as well.
Conclusion
We walked through several steps to get Apache Superset up and running. If you use Windows: make sure you meet the necessary prerequisites (Windows 10 version 2004 and higher (Build 19041 and higher) or Windows 11. Installing Windows Subsystem for Linux (WSL2) works slightly differently on Windows 10 versus Windows 11, but there is plenty of documentation available to guide you through it. Once WSL2 is set up, the remaining process is fairly straightforward. Create a (personal) Docker account and install the Docker Desktop application. Next, download the apache/superset image and set up a container to run it. The additional configurations via the Command Line Interface (CLI) provide access to a wide range of sample datasets, charts and dashboards to draw inspiration from.